The 3 Pillars Of Jazz Improvisation You Need To Know
Aug 14, 2020Learning to improvise fluently in a “jazz style” is no small task. There is so much to consider! From common tools such as scales and arpeggios right on through to those magical musical ideas (produced in real time). We have to juggle many elements. This requires a very broad set of aural and technical skills.
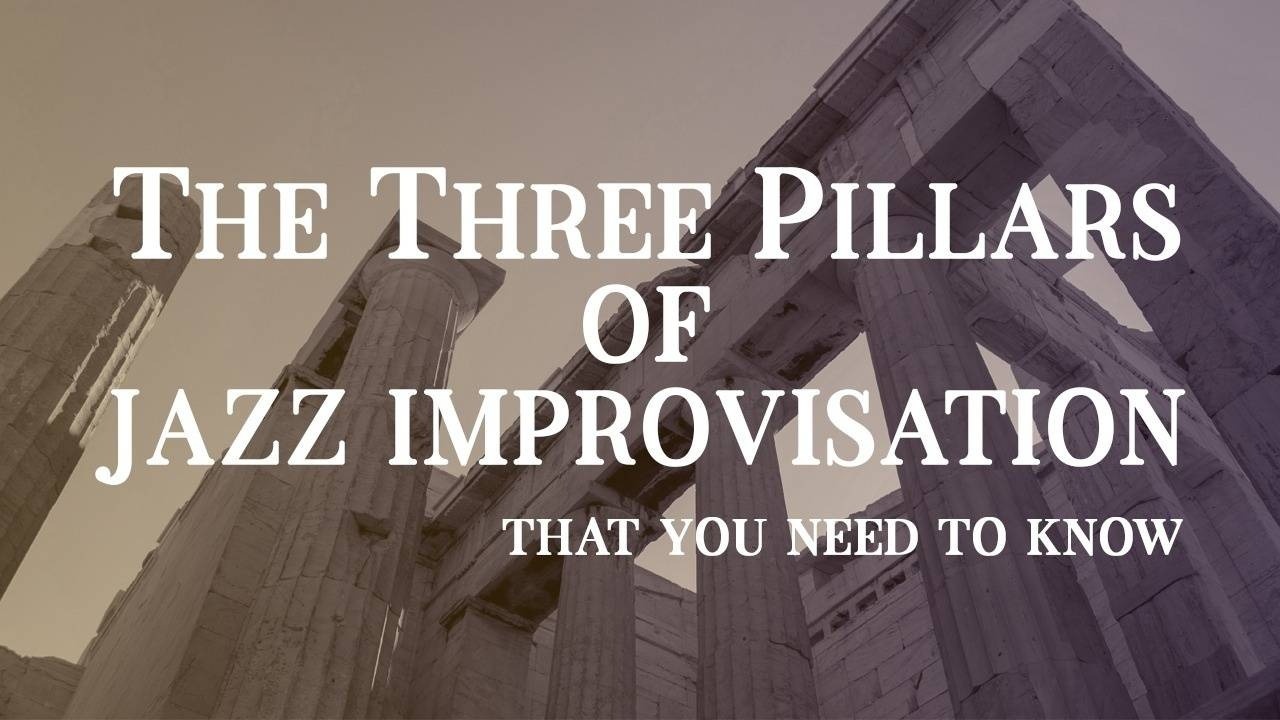
This requires a very broad set of aural and technical skills, which can be summarized in what I like to call the Three Pillars of Improvisation:
In short: learning jazz improvisation can be pretty darn challenging!
And you know what’s harder? Teaching it!

Learning Improv is Hard. Teaching it, Even Harder!
Here I am, 10 years into this entire online endeavour, attempting to pass down some of the jazz guitar knowledge I've acquired along the way. BTW, here's how this website looked in its first year.
I recently realized that very few articles, lessons, blog posts or podcasts online that discuss the subject of improvisation. What we mainly find are resources for chords, scales, chord melody playing, etc. It's very useful stuff! However, a fundamental overview of improvisation is hard to find.
So ... if this is so important, why didn't I write this article sooner?
The reason is simple: I didn’t know where to begin!
The main difficulty in teaching jazz soloing is that everybody is at a different place in their journey. Some students have a great ear and technique. While, others are shredders full of techniques, but still need to work on playing a tune. These are just two examples of many, every student is different. Another day in the life of a jazz guitar teacher!
The “Magic Pill”? Not Quite ...
Fortunately, as an instructor, I am now able to organize ideas a little better to help students of all levels. I believe I might have developed that skill teaching thousands of private lessons to hundreds of students over the years. I’ve seen so many different levels with several different kinds of strengths/weaknesses that I was able (I needed to!) to derive a “general formula” to help everyone!
At the very least, I’m convinced that I can help up and coming jazz guitarists get better at jazz improvisation. I developed a method that uses three concepts that are easy to understand. They also happen to be easy to apply as well ;-).
And this is the topic of this blog post.
Be aware that I DID NOT find the “magic pill” or anything. These “Three Pillars” of Jazz Improvisation are broad enough that they can speak to all types of players, regardless of your level. Yet at the same time, each “Pillar” contains extremely precise exercises to address individual needs.
If you are ready to dig into jazz improvisation and make your skills soar (no matter the level you are currently at right now), then read on. The system is simple, yet powerful.
We learn the micro from the macro, and vice versa. With what I call the “Three Pillars of Jazz Improvisation”, any player can improve his or her skills.
As they say in chess: "easy" to learn, lifetime to master.
What Are the Three Pillars of Jazz Improvisation?
Click over these links to read more about each pillar:
Pillar #1 - Define the Sandbox
In this pillar, we are aiming to play only the “right” notes, at the right moment. This means making proper use of the available scales and arpeggios. The topic is, of course, broader then just scales and arpeggios. These scales and arpeggios are our "sandbox," and we'll play within it.
It may seem easy to play the right scales and the right arpeggios. The first major obstacle for most students is their ability to switch between different sets of available notes. For instance, what happens when you’re improvising for one bar (4 beats) on a chord such as C major then the chord changes to an Ab major in the next bar? A whole different set of notes become available to you at the point of change! This can take some work to understand.
Ultimate aim for Pillar #1:
The ability to play 100% “correct” notes, having them “light up” at the right moment on the instrument. Including the ability to mentally “switch chords” and instantly recognize the right notes.
At this point, we are not concerned with aesthetics or connecting chords (ideas such as voice leading), or even playing nice lines. For this step, a student that wants to put a “check mark” besides Pillar #1 has to clearly demonstrate he or she can play 100% correct notes. As a jazz player, you’ll want to do this on any standard chord progression.
Typically, the first step for Pillar #1 is to play only the right scales from lowest to highest on each chord. The next step can be patterned scales, arpeggios and other ways to mix-and-match the available right notes on each chord. Practicing such exercises enables the “mental switch” to happen faster at the point of chord change.
Pillar #2 - Connect Chords Logically
In this pillar, we’re focusing all of our attention toward the chord changes. We'll still have to switch scales and arpeggios like we do in "Pillar #1", but now there is more to the idea.
Ask yourself: "What was the last note of the previous chord and what is the first note of the current chord?" That is our connection.
The clearer we can make the connection, the easier it will be for the listener to hear that the chord change. It will typically happen with a very close note (a half-step or a whole-step) on a “strong” (chord tone) note of the new chord. It's called voice leading, and here's a post discussing voice leading for comping.
Ultimate aim for Pillar #2:
The ability to play lines that perfectly outline the change from the current chord to the next, while still doing the info from Pillar #1 above.
Of course, we are still using Pillar #1 while learning the second one. This knowledge is incremental. Some of you might have heard of this second pillar as “aim for the 3rd of the chord” from other instructors. And while this is very good information, it’s simply not the whole story.
For instance, playing only on the “right scales” from G7 to Cmajor7 means that you are basically only playing on C major scale (and its modes). With the addition of the second pillar, you could attempt to resolve the 7th of G7 to the 3rd of Cmaj7. This means the last note of the G7 line is F, and the first note of the Cmaj7 is E.
Notice how we are clarifying the picture of chord changes. In the first pillar, the simple fact of changing scales a the right moment makes it somewhat obvious that the chord changed in the accompaniment. However, with the addition of this chord connection, we are making it even clearer that a new chord happened.
Pillar #3 - Articulate Your Lines
With this third and last pillar, we are aiming to refining our line-building skills. It’s the ultimate frontier, for jazz players of all levels.
In very few words, this pillar helps to clarify the picture of the ideas during soloing with rhythms and silences. There’s nothing like good phrasing to make a great musical idea even better! Just listen to Pat Metheny to hear what I mean …
Ultimate aim for Pillar #3:
The ability to start/end musical phrases (or lines) at any location within the form and/or the bar, while still doing Pillar #1 and Pillar #2. This means that the player always knows where he is in the form while improvising.
By gaining control over the bars, beats, and bar lines you become a line-making artist. By and large, this is where the great players transcend the music and the musical forms to express themselves. And that’s often where jazz students fall short. They learn all the scales and stuff, and the proper voice leading too. The elusive element is often on the phrasing of the ideas, and it's here that often needs the most (and hardest) work.
Needless to say, this third pillar has the up-and-coming jazz improviser work on his or her time and rhythm a lot! Timing and a better sense of where the beats are (beat subdivisions) are crucial to getting things to the next level in improvisation.
Once again, this detail is often overlooked by students and instructors. We tend to focus a little too much on the content (harmony, scales, etc.) and not enough on how we phrase (i.e. it’s not what you say, it’s how you say it). All of those times you hear a jazz musician and think to yourself “Wow! That guy can really play anything at any time and it still sounds good!” means you're listening to a master of this third pillar.
**Note from the editor** this post was updated 14/08/2020 (syntax and grammar fixes, updated pictures and blog design updates)


